Making a float-making lathe.
Posted: Sat Feb 02, 2013 11:56 pm
..After reading all the interesting posts concerning making your own floats-and after seeing that intriguing 'YouTube' video on making a simple lathe from a sewing machine motor, I thought that it may be of some interest if we tried to do something like it on here.
This is an entirely new project as I have no previous experience in either making anything like this before, or indeed, trying to make floats! I therefore will be very grateful for any input, ideas or suggestions that you may wish to contribute, so it will be a joint 'TFF' venture..
There are no plans or drawings as yet, only some sketchy ideas in mind; so this will be entirely ad hoc and subject to constant revision as we go along. It is not intended to be a precision engineering project-apart from a few small but important details-so it would be great if some of you could also have a go at this. There will be no set time for completion; I'm just going to do a little at a time, as and when possible..
It seems that the two base manufacturing problems in float-making are, (1) Drilling the hole through the float body; and (2) turning the body true to the stem.
The idea then, is to (try to) make a little, indoor, table-top lathe, which will be able to take care of that, with-if possible-profile repeatability..in other words, to be able to make more than one of the same size!
The first thing was to acquire a small motor and here, I was incredibly lucky, as I was told of an ancient Singer sewing machine which had been thrown out for scrap. It was a shame really, as the machine was obviously a very early one, but had been left out in the rain for months; the wooden case, though rotten, had protected it to some degree, but continual exposure had rusted most of the works and machine bed beyond all viable repair. However..at some time in later life, it had been fitted with an official Singer electric motor with a 'Bakelite' case..
After completely dismantling the motor and cleaning everything, tests showed both stator and armature to be electrically sound. It was easy to buy new brushes and after cleaning the commutator and re-assembling, it ran beautifully, though may need new bush bearings in the future-which shouldn't be too hard to make.
My local tool supply shop sold very small drill chucks so the next step was to buy one of these. It has a capacity just a little more than 1/4", which should be more than adequate.
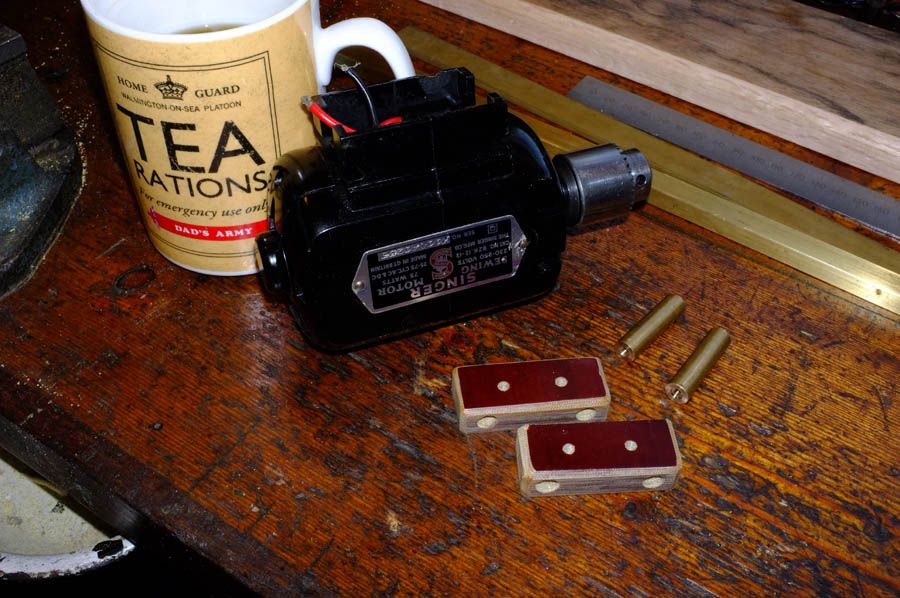
Here is the refurbished motor and chuck..
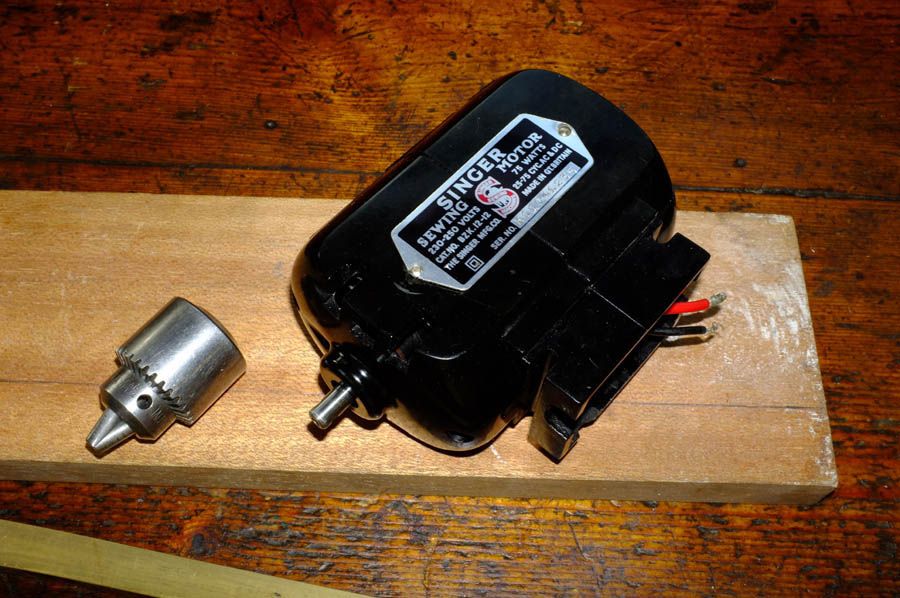
The next-and very exacting-task, was to attach chuck to motor shaft.
This particular little chuck has an internal No.1 Morse taper fitting, not a screw thread, and the motor has a 0.250" shaft with a tapped, ANF (American National Fine) through-hole.
All the dimensions for Morse tapers are easy to find so was able to turn an adaptor on the old Myford..
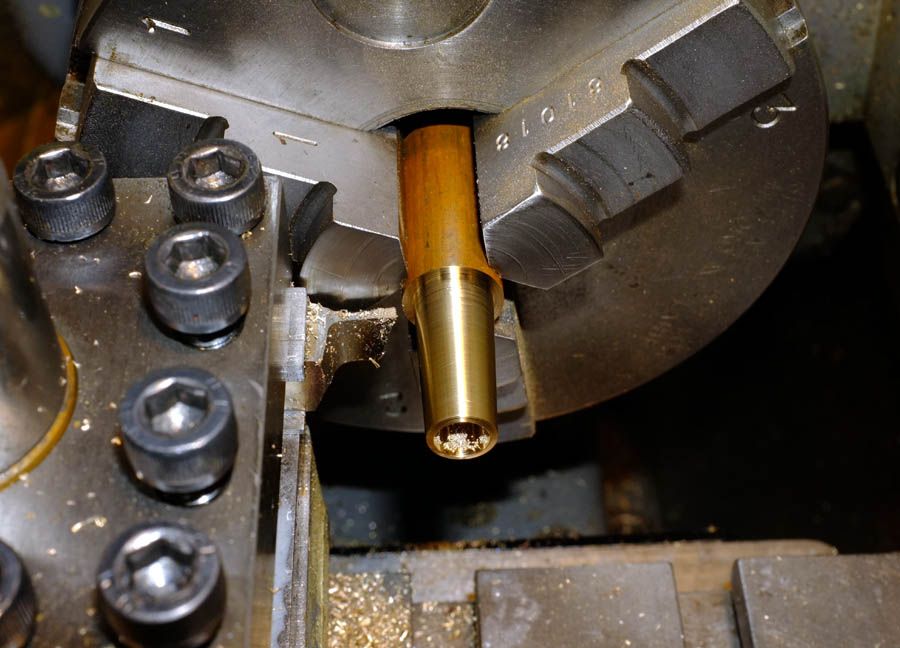
. By turning the taper carefully, testing constantly for fit in the chuck by using a felt-tip marker pen and polishing off the high spots, we obtained a good interference fit. The hole was first drilled then bored to a light, push-fit, to ensure complete concentricity. The motor runs quite fast so eccentric running would be both undesirable and dangerous!
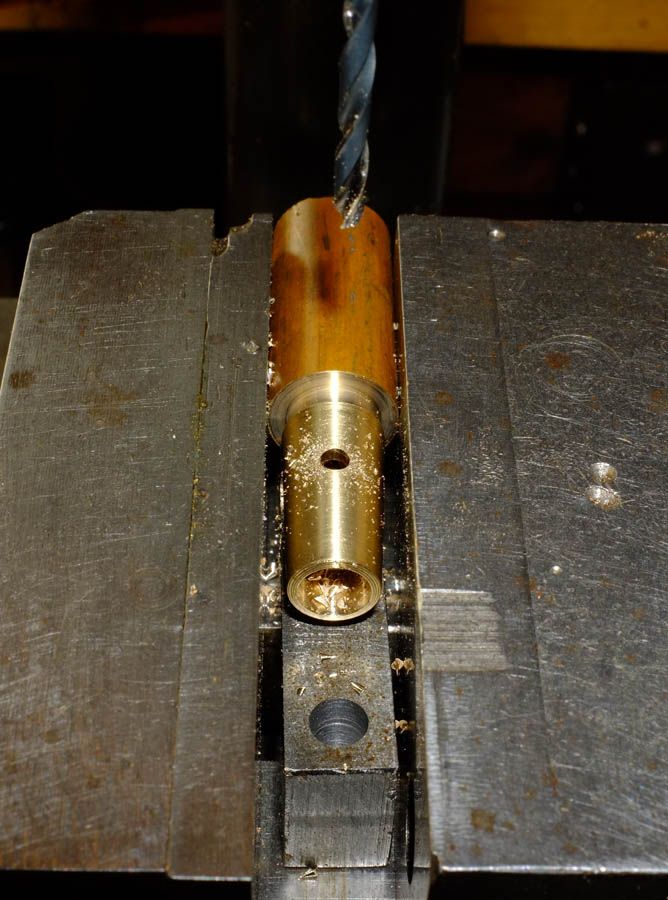
I then made a little grub screw to fit the thread in the shaft and drilled a clearance hole through the adaptor bush..
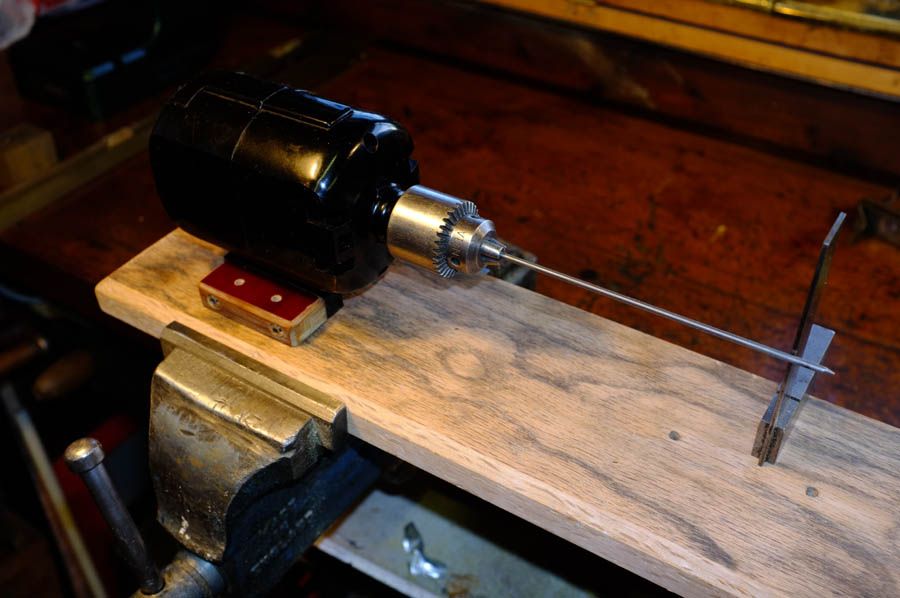
This was then fitted to the motor, thus..

A test run showed that it runs very nice and smooth, with no vibration-and goes in the right direction! ..so the next thing will be to plan out the actual layout for the lathe.
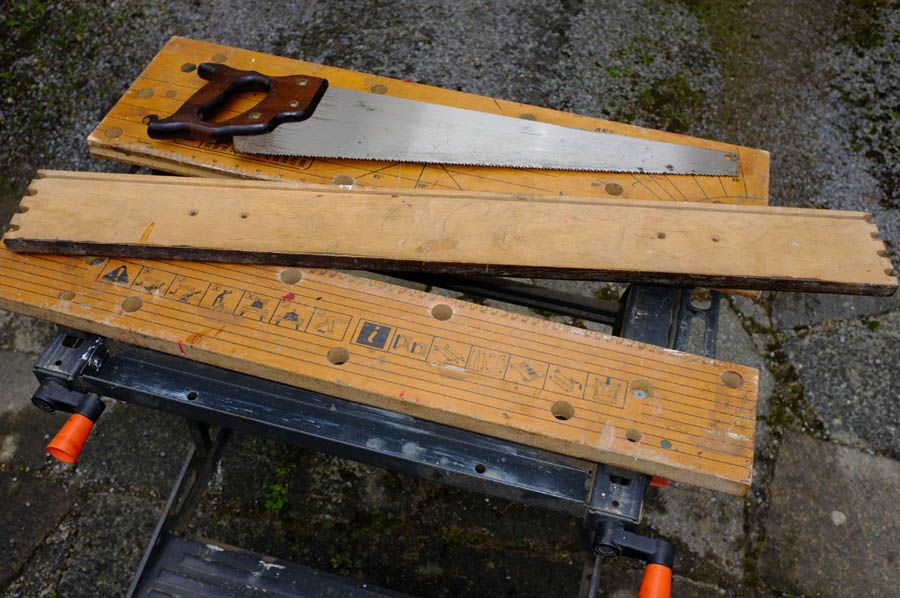
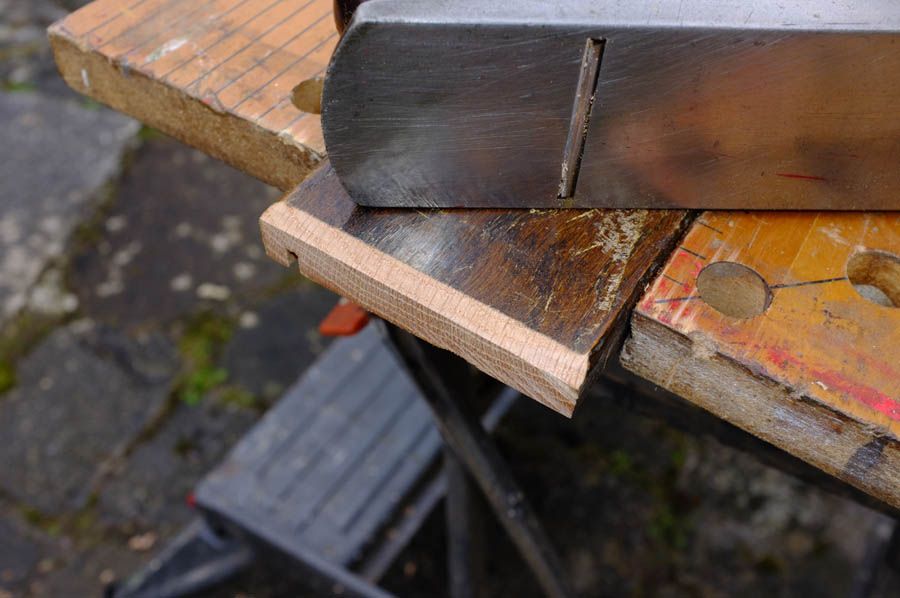
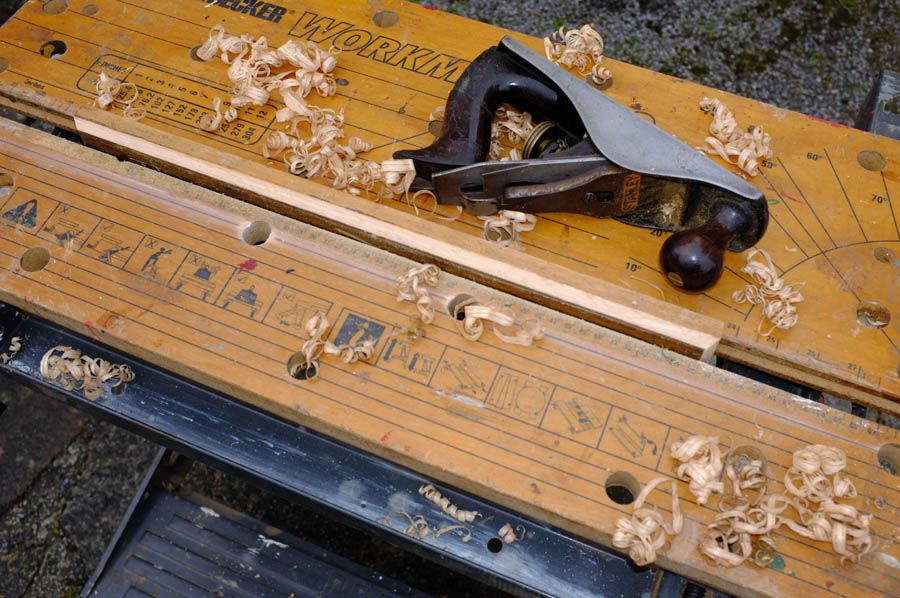
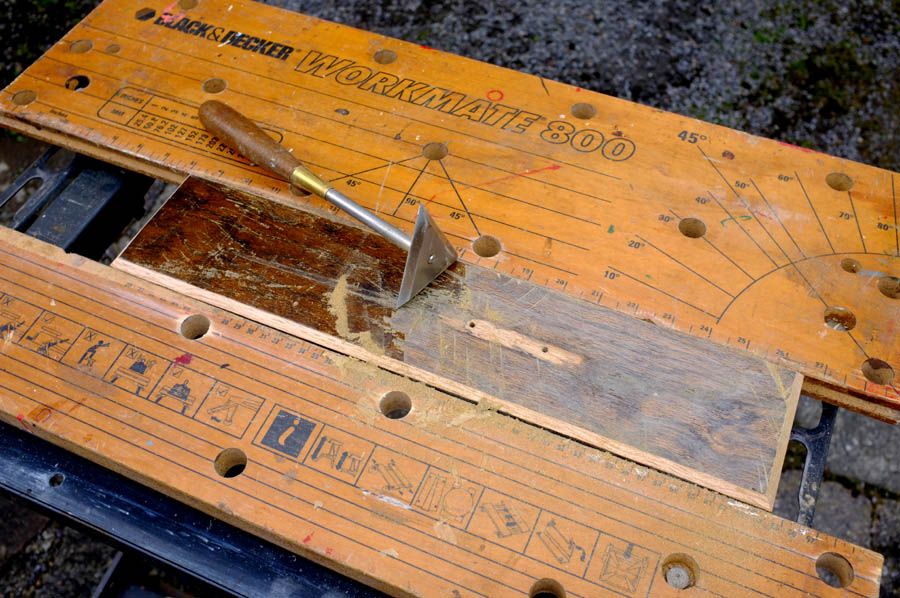
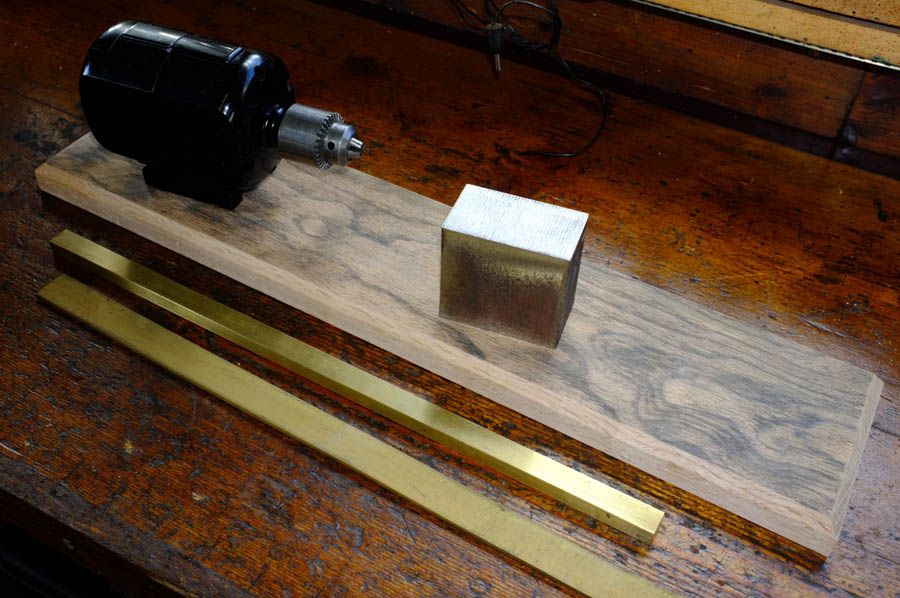
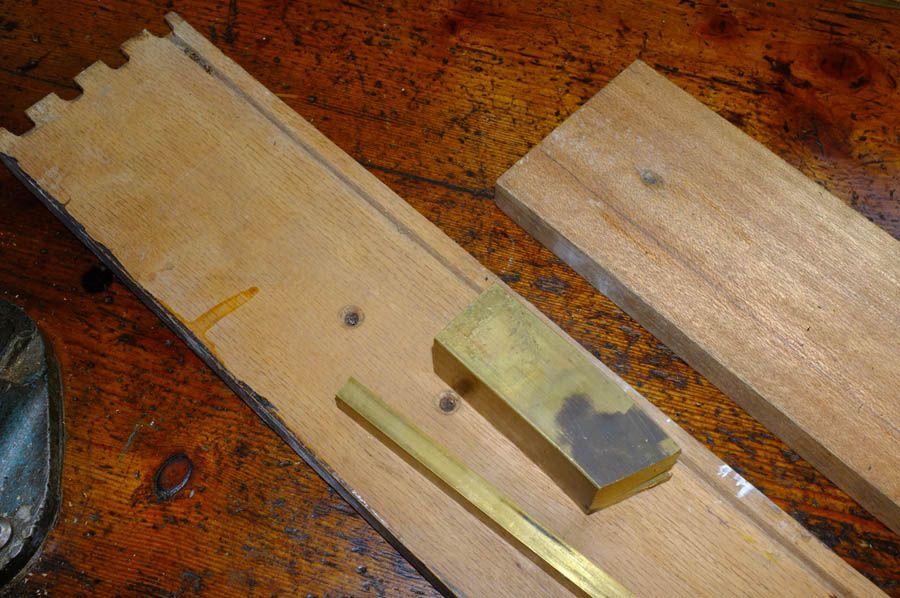
I was thinking of buying a piece of aluminium alloy sheet for the base, but as this is to be made on a budget, I am going to make it from a piece of hardwood. This is in fact, the part of the front, from a 1940s, 'Utility' chest-of drawers, which had been scrapped because of woodworm. I think it's walnut, but will stand corrected.
The machine 'bed' and 'tailstock' are going to be made from some odd bits of brass, from my local metal suppliers.
Here are the base materials..
..More next time.
Regards,
wm+
P.S. That 'Perfection' roach rod is still not finished! I actually did finish it once, but was not happy about several details, so complete strip-down to bare wood and start again...Hey-ho..
This is an entirely new project as I have no previous experience in either making anything like this before, or indeed, trying to make floats! I therefore will be very grateful for any input, ideas or suggestions that you may wish to contribute, so it will be a joint 'TFF' venture..
There are no plans or drawings as yet, only some sketchy ideas in mind; so this will be entirely ad hoc and subject to constant revision as we go along. It is not intended to be a precision engineering project-apart from a few small but important details-so it would be great if some of you could also have a go at this. There will be no set time for completion; I'm just going to do a little at a time, as and when possible..
It seems that the two base manufacturing problems in float-making are, (1) Drilling the hole through the float body; and (2) turning the body true to the stem.
The idea then, is to (try to) make a little, indoor, table-top lathe, which will be able to take care of that, with-if possible-profile repeatability..in other words, to be able to make more than one of the same size!
The first thing was to acquire a small motor and here, I was incredibly lucky, as I was told of an ancient Singer sewing machine which had been thrown out for scrap. It was a shame really, as the machine was obviously a very early one, but had been left out in the rain for months; the wooden case, though rotten, had protected it to some degree, but continual exposure had rusted most of the works and machine bed beyond all viable repair. However..at some time in later life, it had been fitted with an official Singer electric motor with a 'Bakelite' case..
After completely dismantling the motor and cleaning everything, tests showed both stator and armature to be electrically sound. It was easy to buy new brushes and after cleaning the commutator and re-assembling, it ran beautifully, though may need new bush bearings in the future-which shouldn't be too hard to make.
My local tool supply shop sold very small drill chucks so the next step was to buy one of these. It has a capacity just a little more than 1/4", which should be more than adequate.
Here is the refurbished motor and chuck..
The next-and very exacting-task, was to attach chuck to motor shaft.
This particular little chuck has an internal No.1 Morse taper fitting, not a screw thread, and the motor has a 0.250" shaft with a tapped, ANF (American National Fine) through-hole.
All the dimensions for Morse tapers are easy to find so was able to turn an adaptor on the old Myford..
. By turning the taper carefully, testing constantly for fit in the chuck by using a felt-tip marker pen and polishing off the high spots, we obtained a good interference fit. The hole was first drilled then bored to a light, push-fit, to ensure complete concentricity. The motor runs quite fast so eccentric running would be both undesirable and dangerous!
I then made a little grub screw to fit the thread in the shaft and drilled a clearance hole through the adaptor bush..
This was then fitted to the motor, thus..
A test run showed that it runs very nice and smooth, with no vibration-and goes in the right direction! ..so the next thing will be to plan out the actual layout for the lathe.
I was thinking of buying a piece of aluminium alloy sheet for the base, but as this is to be made on a budget, I am going to make it from a piece of hardwood. This is in fact, the part of the front, from a 1940s, 'Utility' chest-of drawers, which had been scrapped because of woodworm. I think it's walnut, but will stand corrected.
The machine 'bed' and 'tailstock' are going to be made from some odd bits of brass, from my local metal suppliers.
Here are the base materials..
..More next time.
Regards,
wm+
P.S. That 'Perfection' roach rod is still not finished! I actually did finish it once, but was not happy about several details, so complete strip-down to bare wood and start again...Hey-ho..